Installation on godaddy hosting account
From MtTWiki
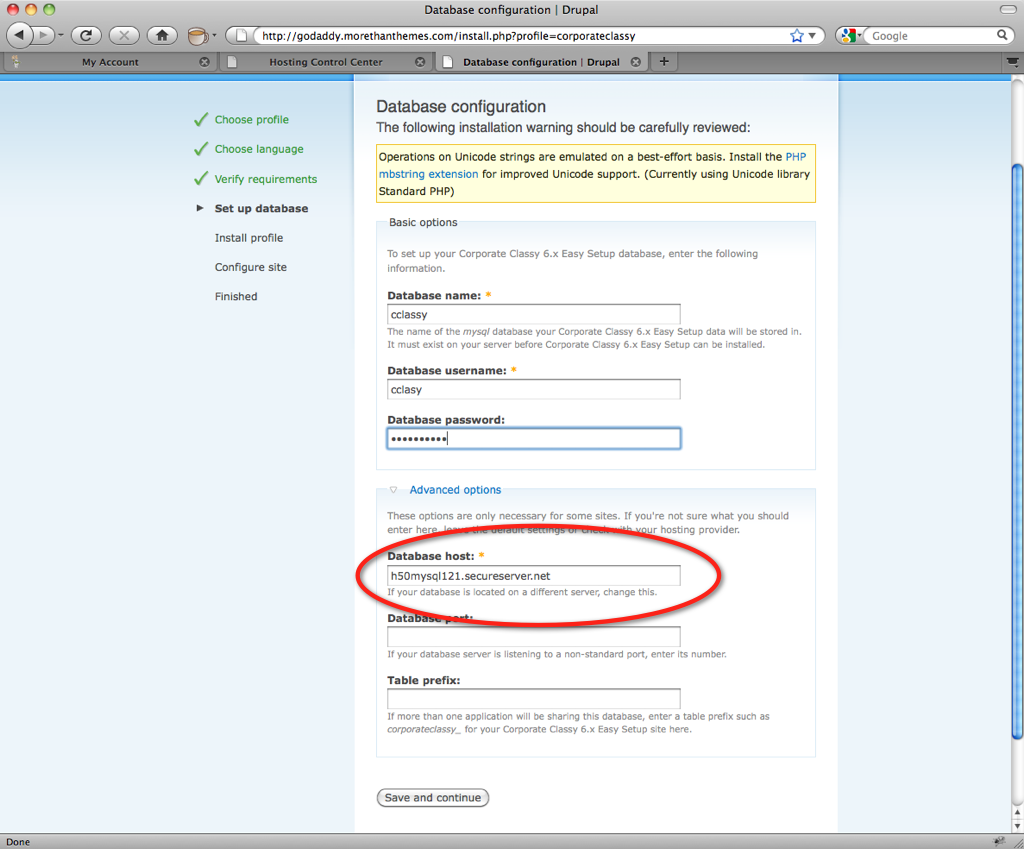
Installation process on godaddy hosting account is almost a straight forward process. The only exception is that your database url is not localhost (as usual). So you have to take extra care to fill out the Database host field.
Contents |
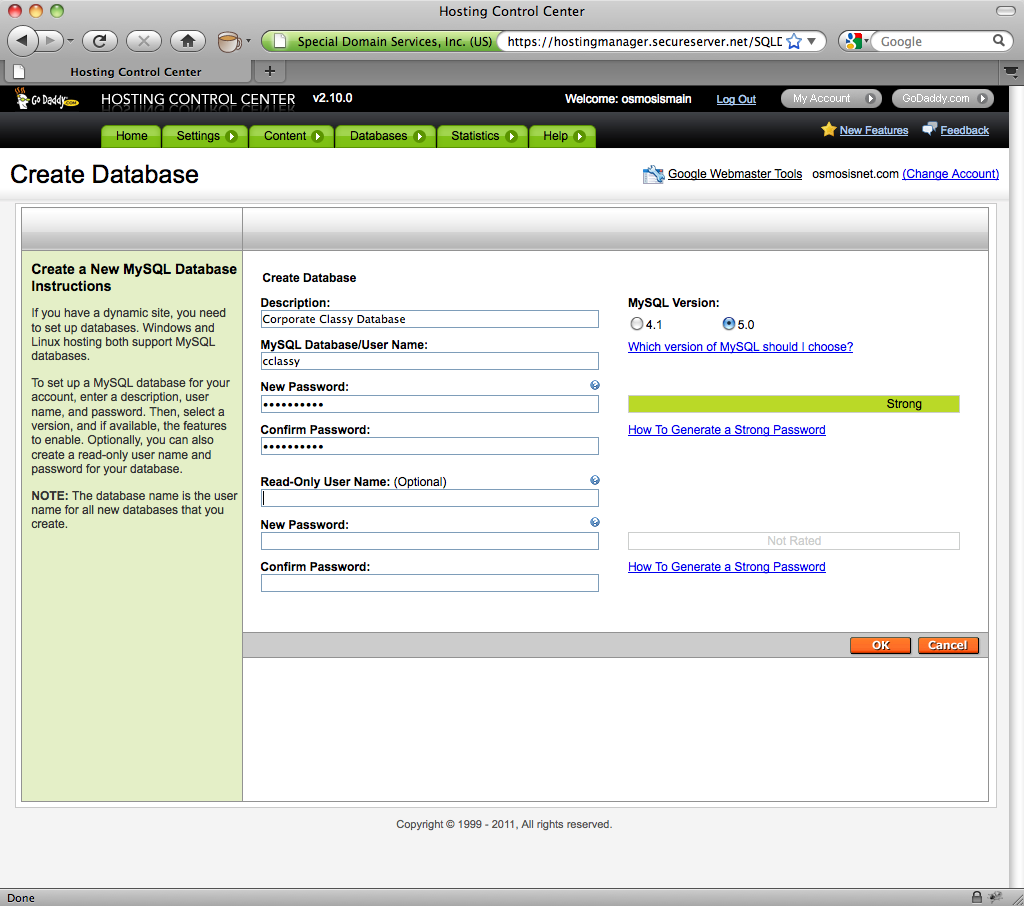
Step 1 - Create your database
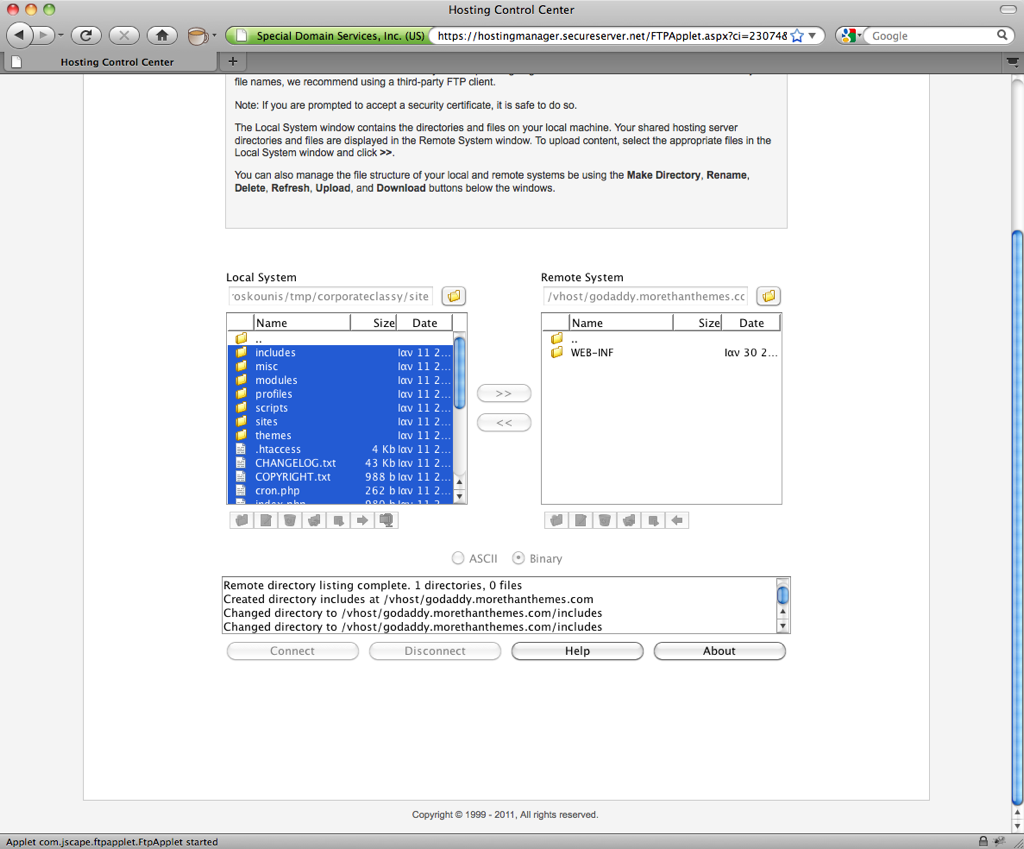
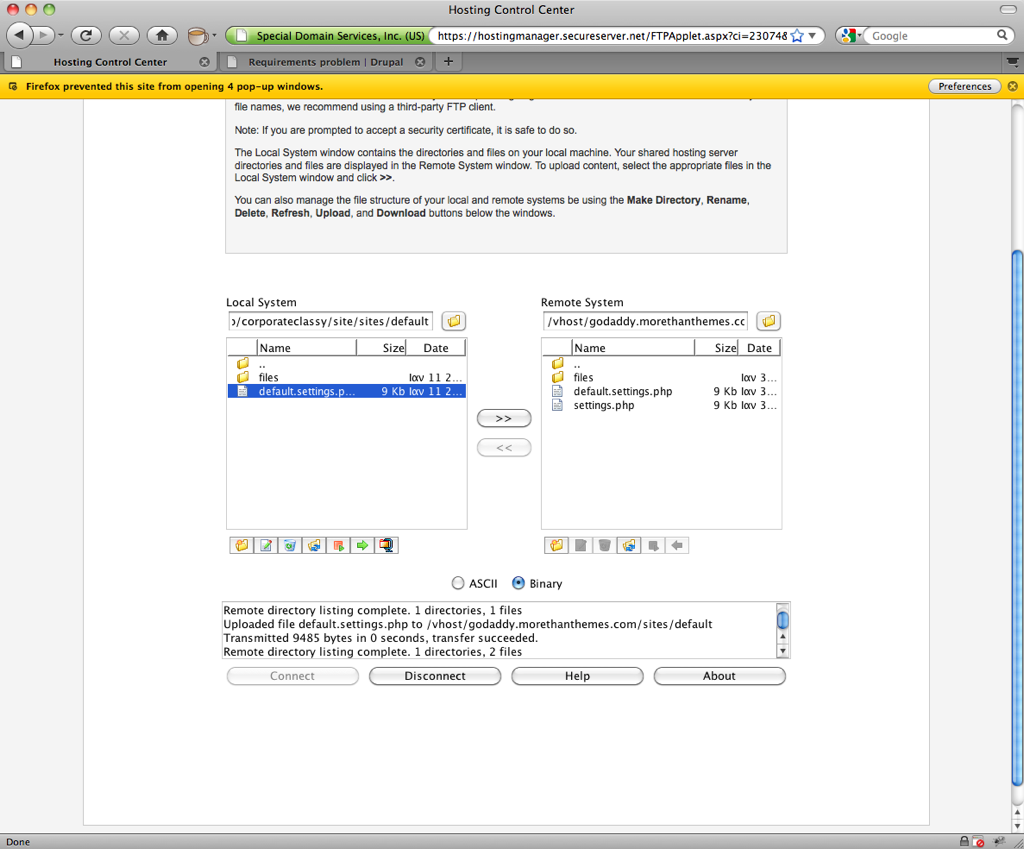
Step 2 - Upload your files
You can use any FTP client. Here we use godaddy's embed FTP client (not recommended)
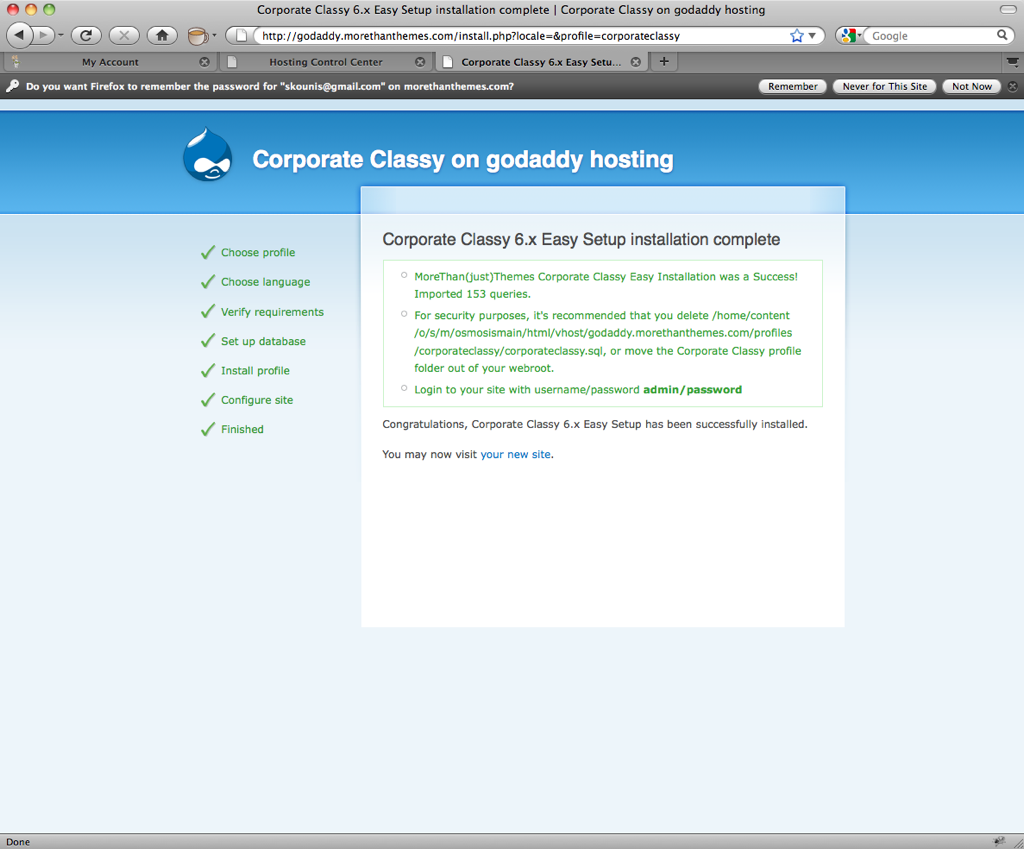
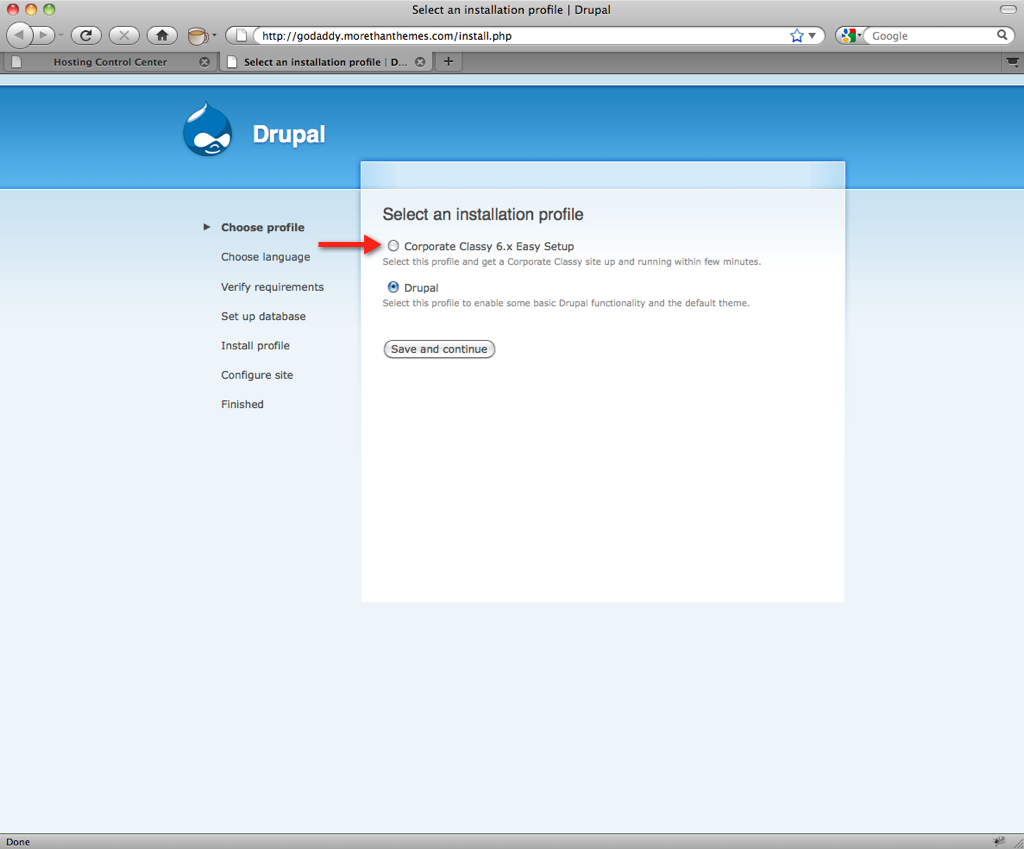
Step 3 - Start you installation
- Open a browser and fill in the right url to the server you have upload your files.
- Select our Installation Profile instead of Drupal's default and select "Save and continue"
Step 4 - Settings.php
Don't forget to create your writable settings.php file
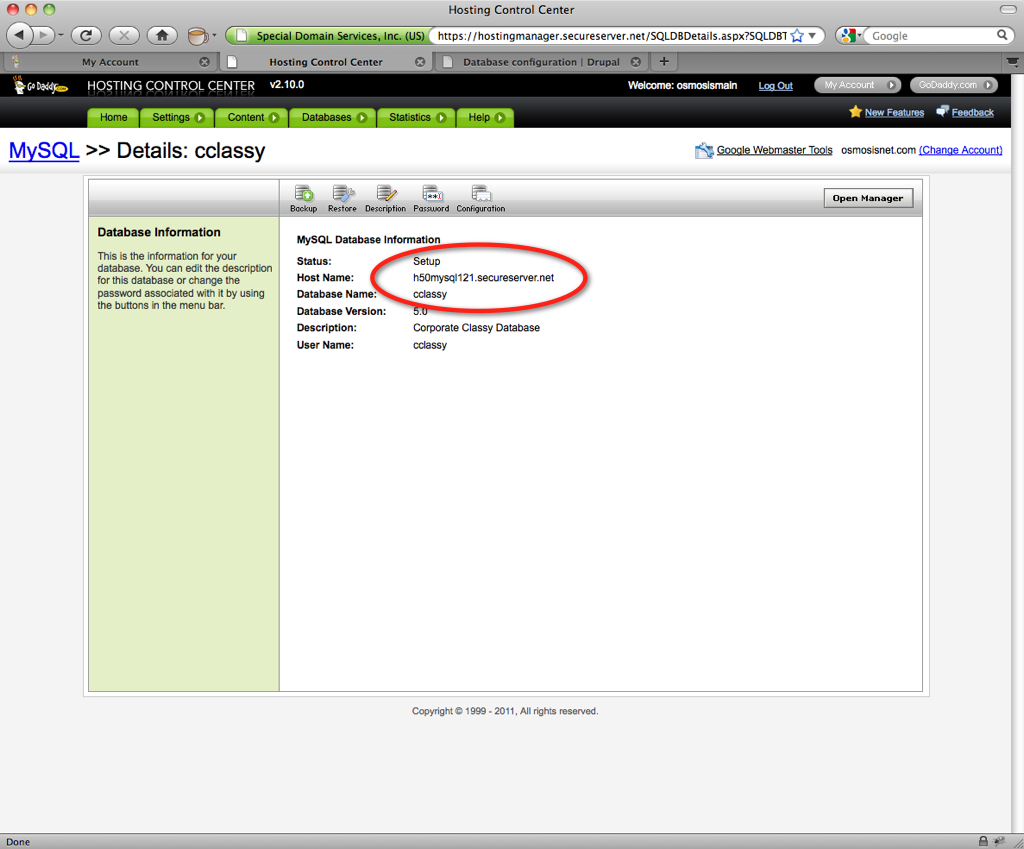
Step 5 - Configure you database url
- Find out, from Godaddy's hosting control panel the url of your database.
- Fill out Database host" field in "Advanced Options"
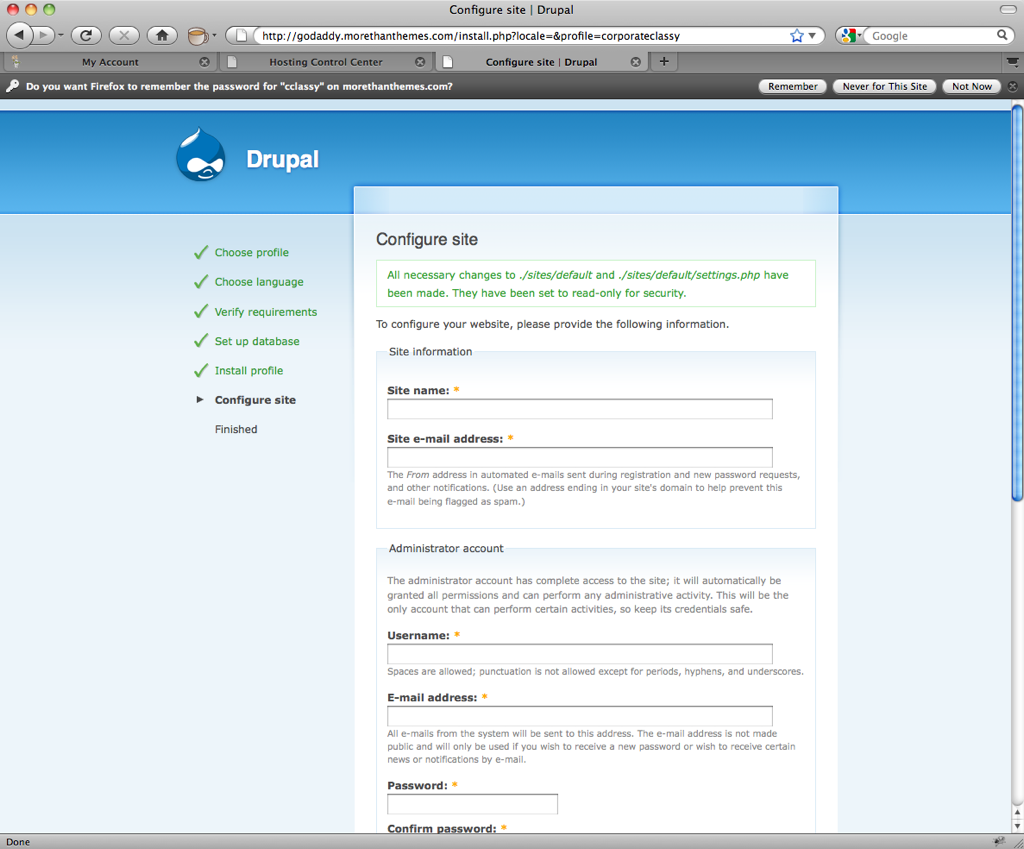
Step 6 - Configure you site
Configure your site's name, administrator user name and password and you are done.